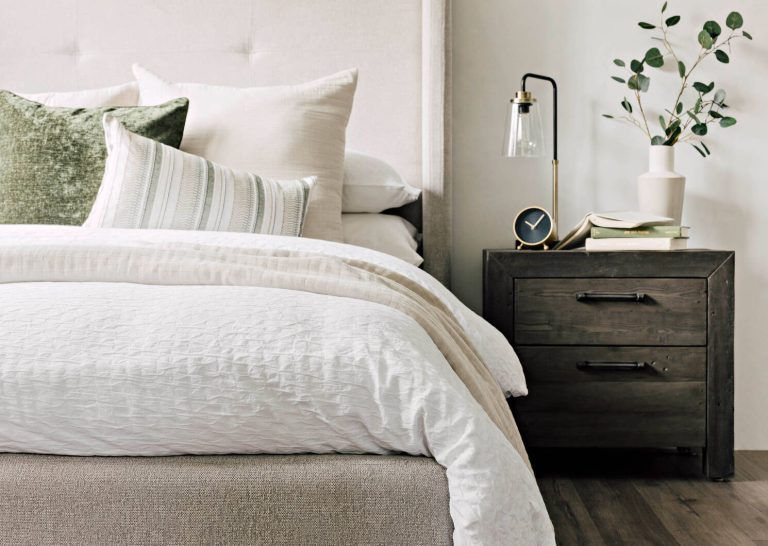
Creating a personalized headboard can be a transformative project that enhances your bedroom’s ambiance, adds character, and reflects your style. It’s an opportunity to inject creativity into your space without breaking the bank. Welcome to the world of DIY home improvement, where your imagination can roam free and your furniture tells your story. Whether you’re going for a rustic charm, bohemian vibes, or a modern minimalist chic, crafting your own headboard is a fulfilling project that uniquely embellishes your personal sanctuary. Here, we’ll guide you through the materials, techniques, and inspiration to craft a personalized headboard that you’ll love waking up to every day.
Why a Headboard?
First, let’s talk about why a headboard is such a worthy addition to your bedroom. Beyond aesthetics, headboards serve a functional purpose. They can provide support when sitting up in bed, protect the wall from abrasions, and serve as a shelf or storage if designed appropriately. Moreover, a headboard is sort of a focal point in a bedroom; it’s where the eye naturally lands. By crafting your own headboard, you get to set the tone for the entire room while exercising your creative abilities.
Getting Started: Inspiration and Planning
Before you dive into the mechanics of construction, spend some time gathering inspiration. Platforms like Pinterest, Instagram, or home décor magazines are rife with ideas. Pay attention to materials, colors, and styles that resonate with you and consider what will harmonize with the existing décor of your room.
Once your creative juices are flowing, sketch a rough design. Consider the size, shape, and formality of your headboard. Would you like it to be tall and dramatic or small and subtle? This is also the time to decide on functionality. Do you need built-in shelves or lighting? How about a fabric covering for extra comfort and coziness?
Materials You’ll Need
Depending on the design you’ve chosen, the materials may vary. A basic list includes:
– Plywood or reclaimed wood: For the structure of your headboard.
– Foam padding (optional): For added comfort or a tufted look.
– Fabric: Your choice for covering the padding; consider texture and durability.
– Paint or stain (optional): If using bare wood and you want it painted or stained.
– Buttons or embellishments (optional): For detailing, especially if you’re tufting.
– Saw and sandpaper: Essential tools for shaping and smoothing the wood.
– Staple gun: For securing fabric and foam.
– Glue and screws: Basic fastening materials.
– Measuring tape: To ensure precision in dimension.
Step-by-Step Guide
Step 1: Measuring and Cutting
Start by measuring the width of your bed frame. The width of your headboard should ideally match the bed frame or be up to 2 inches wider for a modern look. Once measured, transfer these dimensions onto your chosen wood and carefully cut using a saw. Sand down the edges to avoid splinters.
Step 2: Preparing the Surface
If you’re opting for a headboard with exposed wood, either stained or painted, now is the time to treat the wood. Apply a stain or a coat of paint in your chosen hue and let it dry. Sand between coats for a smooth finish.
Step 3: Adding Padding (Optional)
For those who want a cushioned headboard, cut foam to the size of your wood. Use spray adhesive to attach it to the wood. Follow up with a layer of batting for added smoothness.
Step 4: Upholstering
Lay out your chosen fabric, ensuring it’s wrinkle-free, then place the padded board on top. Begin stapling the fabric to the back of the board, pulling tightly as you go to avoid slack. Corners can be tricky, so fold them neatly and stapling might need extra attention to detail here.
Step 5: Adding Details (Optional)
If your design includes tufting, this is the time to add buttons. Use a long upholstery or needle and tufting twine. Decide on a pattern, then attach buttons through the fabric and foam to the plywood.
Step 6: Mounting
Mounting can vary based on your preference and wall structure. You can directly attach the headboard to the bed frame, hang it on the wall, or use freestanding legs. Make sure to use durable materials to secure your headboard, ensuring it is safe and sturdy.
Personal Touches and Final Thoughts
Crafting a headboard is more than just a construction project; it’s a form of self-expression. Add personal touches with painted designs, stenciling monograms, or incorporating LED lights for a contemporary feel. You can even hang framed photos, wreaths, or fairy lights for additional charm.
A DIY headboard is an invitation to creativity and functionality, transforming your bedroom into a reflection of who you are. Not only will you save money, but you’ll also gain the satisfaction of having created something with your own hands.
Revel in your hard work every time you step into your room. Your personalized headboard stands as a testament to your craftsmanship and style, redefining what home improvement can achieve. So, gather your materials, channel your creativity, and start crafting the headboard of your dreams. You might find that this is just the beginning of a rewarding DIY journey.


