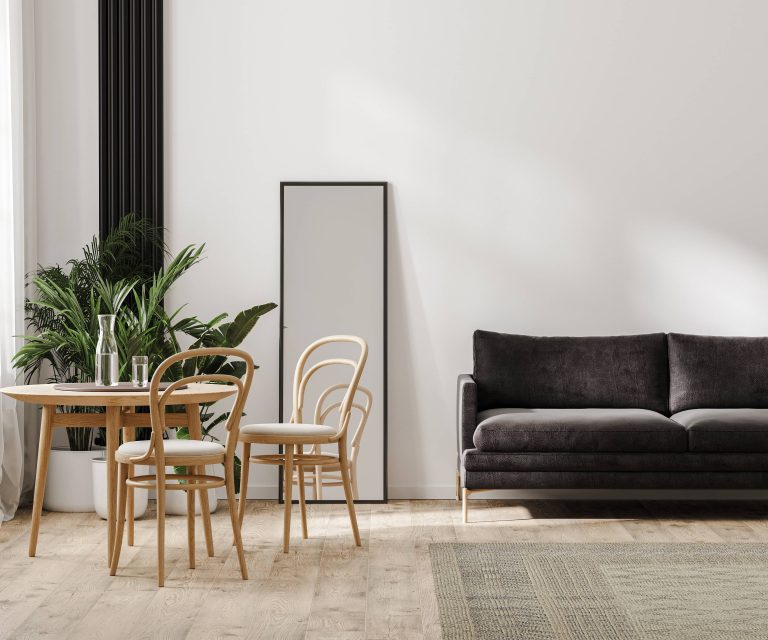
Creating a statement wall is one of the most effective ways to breathe new life into your home, drawing attention and bringing an artful touch to any room. While wallpapers and murals can be quite expensive, stenciling is a cost-effective, creative alternative that allows you to customize your space to your heart’s content. In this post, we’ll explore how to transform any wall into an eye-catching masterpiece using DIY stenciling techniques. Let’s dive in!
Understanding Stenciling: What Is It?
Stenciling involves the use of a template, known as a stencil, to apply a pattern or design onto a surface. This technique is versatile, permitting you to replicate a pattern repeatedly or create a singular, bold feature. Stencils can be purchased in various designs ranging from floral and geometric to whimsical motifs. If you’re feeling adventurous, you can also craft your own stencil designs for a truly bespoke touch.
Tools and Materials
Before getting started, gather the necessary tools and materials:
– Stencil: Choose a pre-made design or create your own with stencil paper.
– Paint: Latex or acrylic paint works well for stenciling. Pick a color that complements your room’s palette.
– Stencil brush or roller: Depending on the intricacy of your stencil, you may need a small brush for details.
– Painter’s tape: To secure your stencil in place and protect adjacent areas.
– Drop cloth: To safeguard your flooring.
– Level or measuring tape: To ensure correct placement.
– Pencil: For light marks to guide your stencil placement.
Step-by-Step Guide to Stenciling a Statement Wall
Step 1: Choose Your Wall and Prepare the Surface
Select the wall you wish to accentuate. A statement wall typically works best on a focal point of the room, such as the wall behind a bed, sofa, or fireplace. Once chosen, prepare the wall by cleaning it thoroughly to remove dust and grease, ensuring that the paint adheres smoothly. Fill in any cracks or holes, and sand the surface if needed.
Step 2: Choose a Stencil Design
Selecting the right stencil is crucial as it sets the tone for your room. Consider the room’s purpose and current decor. For a calming bedroom, you might prefer soft, flowing designs like vines or abstract shapes. In contrast, a bold geometric pattern may lend itself well to a modern living room.
Step 3: Layout Planning
Using your level and measuring tape, plan the layout on your wall. Starting from the middle and working your way out helps maintain balance, especially if the design is symmetrical. Use a pencil to mark where each stencil will be placed. This visual guide ensures that the pattern will be consistent.
Step 4: Position Your Stencil
Once you’ve planned your layout, it’s time to position the stencil on your wall. Secure it with painter’s tape, ensuring it lies flat against the surface to prevent any paint bleed.
Step 5: Apply Paint
Dip your stencil brush or roller lightly into your paint, then dab off any excess on your palette or paper towel. The key to stenciling is using a dry brush with minimal paint to prevent seeping around the edges. Gently dab or roll over your stencil, building the color gradually. Let the paint dry slightly before carefully removing the stencil to avoid smudging.
Step 6: Repeat the Pattern
Once you’ve completed the first section, reposition the stencil using your guide marks and repeat the process. Apply the paint consistently to maintain a uniform appearance throughout the wall. This step may require some patience, but the result is worth it!
Step 7: Touch-Ups and Finalizing
After completing your design, inspect your statement wall for any imperfections. Use a small brush for touch-ups where needed. Finally, step back and admire the transformation: you’ve successfully created a statement wall using DIY stenciling techniques!
Tips for Success
– Test First: Before committing to a design, test your stencil and paint on a piece of cardboard or spare wall space. This practice run allows you to perfect your technique.
– Choose High-Quality Tools: Opt for high-quality brushes or rollers to achieve a professional finish.
– Boldness with Paint: Don’t shy away from bold colors or metallic paints for an added layer of interest.
– Maintenance: Once completed, stenciled walls require minimal maintenance. Just ensure you avoid harsh chemicals when cleaning.
Conclusion
Creating a statement wall using DIY stenciling techniques is both a rewarding and artistic endeavor. It offers a personalized touch to your home, reflecting your style and creativity. Equipped with patience, the right materials, and a sprinkle of artistic flair, you can transform any wall into a stunning feature that will captivate both residents and guests alike. So grab those brushes and stencils, let your imagination run wild, and begin your next home improvement project today!


