
Accent lighting is an essential component of interior design that enhances the aesthetic appeal of any space, adds drama, and highlights key features of your decor. Despite its importance, many homeowners overlook this element, believing it to be costly or complex to install. However, you can customize and create your own accent lighting through DIY projects to complement your style and enhance your home’s ambience without breaking the bank.
Understanding Accent Lighting
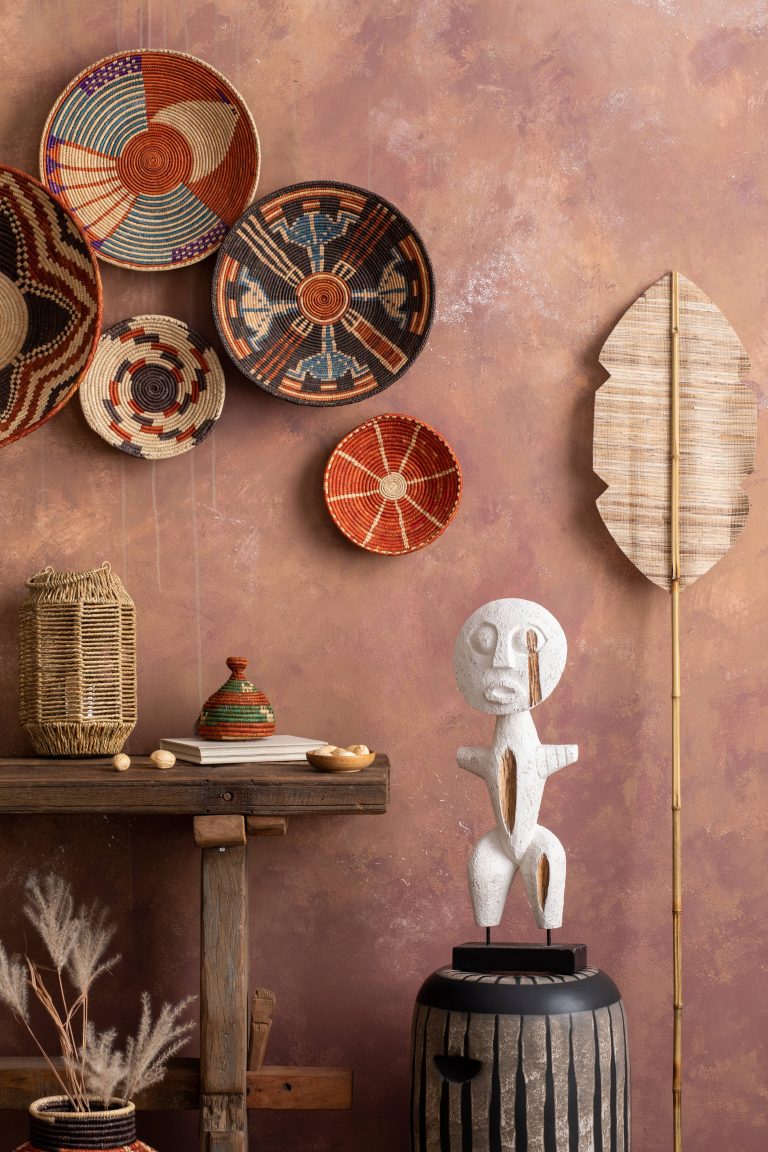
Before diving into projects, it’s important to understand what accent lighting entails. Unlike general or ambient lighting, which provides overall illumination, accent lighting is used to highlight specific areas or objects such as artwork, architectural features, or zones within a room. It adds depth and dimension, transforming your living space into an inviting and visually interesting area.
Choosing the Right Accent Lighting for Your Space
Choosing the right type of accent lighting depends on the purpose and atmosphere you want to create. Here are some popular options:
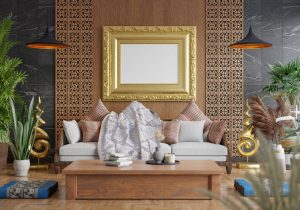
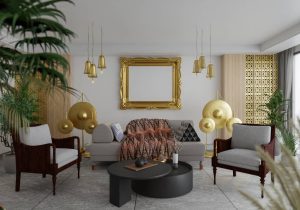
1. Wall-mounted lights: Perfect for highlighting artwork or architectural features. They can also add a touch of elegance to any room.
2. Track lighting: This versatile option allows you to direct light exactly where you want it. It’s great for highlighting multiple focal points.
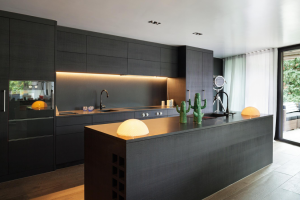
3. LED strip lights: Ideal for illuminating cabinetry, under couches, or as a feature light along staircases. These can be color-changing to create different moods.
4. Floor and table lamps: Simple yet effective, they can be used to highlight specific areas while adding to your decor.
DIY Accent Lighting Projects
With a basic understanding of accent lighting, let’s explore some DIY projects that can enhance your decor.
1. DIY LED Strip Lights for Shelving
Adding LED strips to bookshelves or display units is a simple way to highlight your collections while creating a sophisticated look. Here’s a step-by-step guide:
Materials Needed:
– LED light strip kit (ensure it includes a power adapter)
– Adhesive backing, if not already part of the kit
– Measuring tape
– Scissors
– Optional: Smart Home LED controller
Instructions:
1. Measure and Plan: Measure the length of the area where you want to install the lights. Plan where you’ll hide wires and plug them in.
2. Cut the LED Strip: Cut the LED strips to fit the length of your shelves. Make sure to cut along the prescribed lines on the strip.
3. Apply the Strip: Peel off the adhesive backing and stick the strip under the shelf. Ensure it’s secure to prevent it from peeling off over time.
4. Connect to Power: Connect the strips to the power adapter. Consider using a smart LED controller to adjust the lighting via an app.
5. Test: Plugin the lights and make any necessary adjustments to placement.
2. Mason Jar Sconce Lights
Mason jar sconces can add rustic charm and warmth to any room. These are perfect for hallways or as bedside lighting.
Materials Needed:
– Mason jars
– Battery-powered LED puck lights
– Hooks or brackets for mounting
– Twine or decorative rope
Instructions:
1. Mount the Hook/Bracket: Decide the placement for your sconces and mount the hook or bracket on the wall.
2. Prepare the Mason Jar: Place the LED puck light at the bottom of the jar. You can use adhesive to secure it, if necessary.
3. Attach Twine/Rope: Wrap twine or decorative rope around the neck of the mason jar, ensuring it’s secure enough to hold the weight of the jar.
4. Hang the Sconce: Hang the mason jar on the hook or bracket, adjusting the length of twine or rope for the desired height.
5. Switch On: Turn on the LED puck lights and enjoy your cozy, rustic lighting.
3. Under Cabinet Lighting for Kitchen
Enhance your kitchen by adding under cabinet lighting. This not only highlights your countertops but also provides practical illumination for food prep and cooking.
Materials Needed:
– LED light bars or strips
– Power drill and screws
– Adhesive tape
Instructions:
1. Measure and Mark: Determine the length of the cabinet where you’ll be installing lights and mark where the lights will be placed.
2. Install LED Bars/Strips: Mount the LED bars or strips along the underside of the cabinet using adhesive tape or screws for a more secure hold.
3. Connect to Power Supply: Plug the lights into a nearby outlet. Consider using a power strip with a switch for ease of use.
4. Test: Turn the lights on and ensure they illuminate the area adequately.
Final Thoughts
Creating your own accent lighting is not only rewarding but also provides a unique personal touch to your home decor. These DIY projects are just a starting point; the possibilities are endless with a little creativity and style. Whether you’re looking to provide subtle highlights or bold statements, accent lighting is a versatile and powerful tool in achieving your interior design goals.
Remember, the key to successful accent lighting is to focus on contrast, creating depth and highlighting what matters most in your space. Enjoy experimenting with different options and watching how they transform your home!