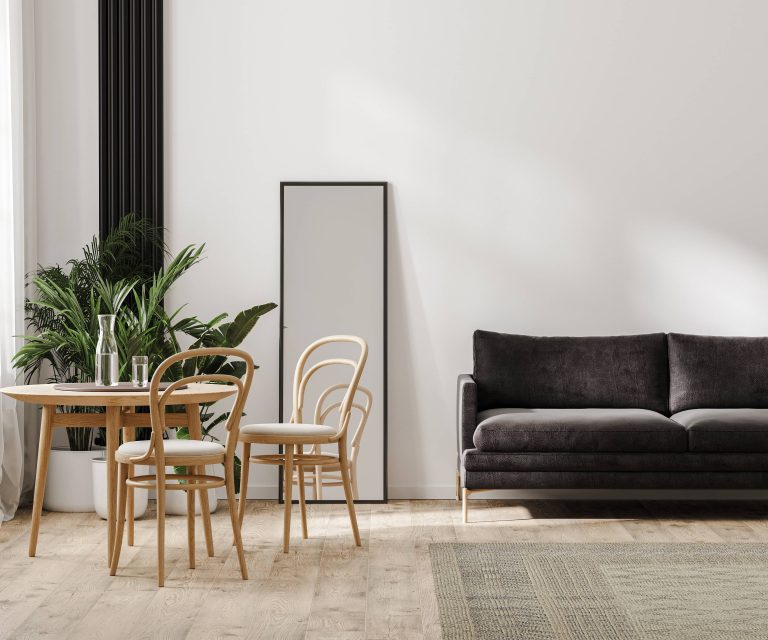
In an age of increasing consumerism and diminishing spaces, the quest for personal belonging is often met with the challenge of limited storage. Whether you live in a compact apartment or a spacious house, making optimal use of your living area is crucial. Personalized storage solutions not only cater to your specific needs but also add a touch of unique character to your home. Through DIY endeavors, you can create storage systems that are not only functional but also reflective of your style and creativity. In this blog post, we explore several exciting DIY storage projects that can help you maximize space while adding a personalized touch to your home.
Benefits of DIY Storage Solutions
Before we delve into specific projects, let’s discuss the benefits of DIY storage solutions:
1. Customization: One of the foremost advantages of DIY storage is the ability to customize. You get to choose the materials, dimensions, colors, and functionality according to your needs and preferences. This personalization ensures that your storage options perfectly fit your space and style.
2. Cost-Effectiveness: Hiring professionals or purchasing readymade storage solutions can be expensive. DIY projects allow you to use affordable materials and eliminate labor costs, providing a budget-friendly option to improve your storage capacity.
3. Sustainability: DIY endeavors often involve repurposing and upcycling materials, reducing waste, and promoting sustainability. By creating your own storage solutions, you contribute to an eco-friendly approach to home improvement.
4. Skill Development: Engaging in DIY projects hones your creative and manual skills. The sense of achievement that comes with creating something with your own hands is deeply rewarding, and your new-found skills can be applied to future projects.
DIY Storage Projects to Try
1. Floating Shelves
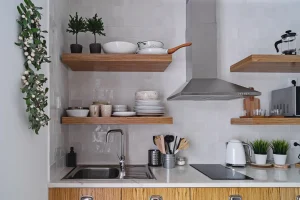
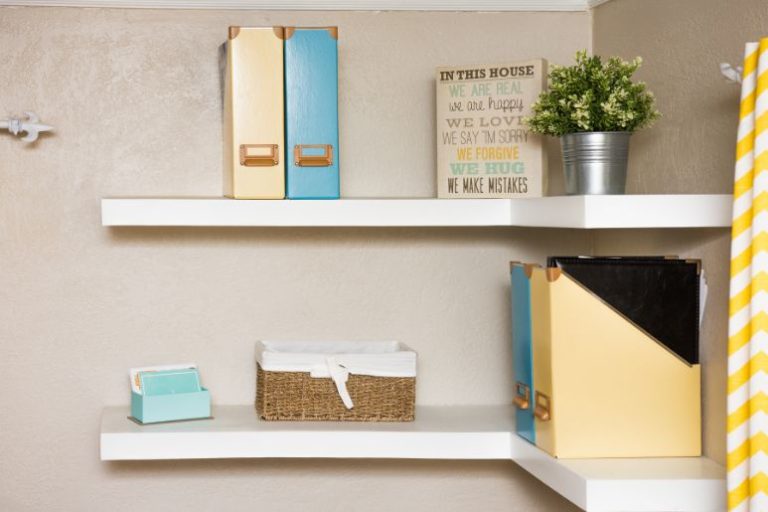
Floating shelves offer a sleek, minimalist storage solution that maximizes wall space. Ideal for displaying books, collectibles, and houseplants, these shelves can be custom-sized to fit any wall.
Materials Needed:
– Wooden boards
– Wall brackets or hidden mounting hardware
– Screws and anchors
– Sandpaper
– Paint or wood stain (optional)
Instructions:
1. Choose high-quality wooden boards that match your style.
2. Cut the boards to the desired length.
3. Sand the surfaces for a smooth finish.
4. Paint or stain the wood to match your decor.
5. Securely attach the brackets or hidden mounting hardware to the wall.
6. Install the shelves and ensure they are level.
2. Custom Closet Organizer
Transform your closet into a tailored storage haven with a DIY closet organizer. This project allows you to create sections for clothes, shoes, and accessories, optimizing your closet space.
Materials Needed:
– Plywood or MDF boards
– Saw
– Drill
– Wood glue
– Screws
– Paint or finish
Instructions:
1. Measure your closet space to design a layout that fits your storage needs.
2. Cut the boards to size for shelves, dividers, and hanging rods.
3. Assemble the parts using wood glue and screws.
4. Paint or finish for a polished look.
5. Install the organizer into your closet, ensuring it is secure.
3. Repurposed Furniture
Before discarding old furniture, consider repurposing it into unique storage solutions. An old dresser can become a chic coffee bar, or a ladder can be turned into a quirky bookshelf.
Materials Needed:
– Old furniture pieces
– Sandpaper
– Paint or wood stain
– Tools as required (e.g., saw, sander)
– Additional materials (e.g., hooks, baskets)
Instructions:
1. Assess the furniture for potential storage use.
2. Sand down any rough surfaces.
3. Paint or stain to fit your style.
4. Incorporate additional storage features like hooks or baskets.
5. Position in your designated space for a unique storage solution.
4. Under-Bed Storage Drawers
Under-bed space is often overlooked as a storage area. Create pullout drawers that fit snugly beneath your bed to store off-season clothing or extra bed linens.
Materials Needed:
– Plywood
– Drawer slides
– Saw
– Drill
– Wood screws
– Handles
Instructions:
1. Measure the under-bed space to determine drawer size.
2. Cut plywood to form the sides and bottom of each drawer.
3. Assemble drawers using screws and attach drawer slides.
4. Add handles for easy access.
5. Slide drawers under the bed for discreet storage.
5. Pegboard Wall Organizer
A pegboard wall is a versatile storage solution perfect for kitchens, garages, or craft rooms. It allows for customizable arrangements of hooks, baskets, and shelves.
Materials Needed:
– Pegboard
– Wooden frame
– Mounting hardware
– Hooks and accessories
Instructions:
1. Cut pegboard to fit the designated wall space.
2. Build a wooden frame for reinforcement.
3. Securely mount the pegboard on the wall.
4. Arrange hooks and accessories to store tools, pots, or craft supplies.
Final Thoughts
Creating personalized storage solutions through DIY projects can be both a practical and fulfilling endeavor. These projects not only enhance your home’s functionality but also add personal value and style. By embracing the DIY approach, you contribute to a more sustainable lifestyle, save money, and develop valuable skills. So why wait? Start exploring your storage needs, gather your materials, and dive into a world of creativity and organization! Remember, the best storage solutions are those that not only serve their purpose but also tell a story—your story.


