Bookshelves have long been an integral part of the home, not just as a storage solution for books but as versatile decor pieces that can breathe life into any space. Whether it’s displaying your cherished tomes, family photos, or curated collections, a custom bookshelf can add both functionality and beauty to your home. Today, we’ll explore how to build your own custom bookshelf, a DIY project that merges practicality with creativity.
Why Build a Custom Bookshelf?
Before we dive into the nitty-gritty of building, let’s consider why you might choose to create a custom bookshelf rather than purchasing a pre-made one. Firstly, a custom bookshelf allows you to work with the exact dimensions and style that fits your space and aesthetic. You can personalize everything from the height and width to the materials used and the finishing touches. Furthermore, there is an unparalleled sense of satisfaction and achievement in building something with your own hands.
Planning Your Bookshelf
Before you start buying materials or cutting wood, it’s crucial to plan your bookshelf. Consider the following:
1. Dimensions and Space: Measure the space where you plan to place your bookshelf. Consider the height, width, and depth, and make sure to account for any architectural features like moldings or outlets.
2. Design and Style: Decide on the look you want to achieve. Whether it’s rustic, modern, or something in between, this will dictate the type of materials and finishes you choose.
3. Functionality: Consider what you plan to store or display. This will influence the spacing between shelves and the overall sturdiness of the bookshelf.
Materials You’ll Need
– Plywood or solid wood (for the shelves)
– Wood glue and screws
– Sandpaper (medium and fine grit)
– Wood stain or paint
– Primer (if painting)
– Paintbrushes or rollers
– Level
– Tape measure
– Circular saw or handsaw
– Drill
Step-by-Step Guide
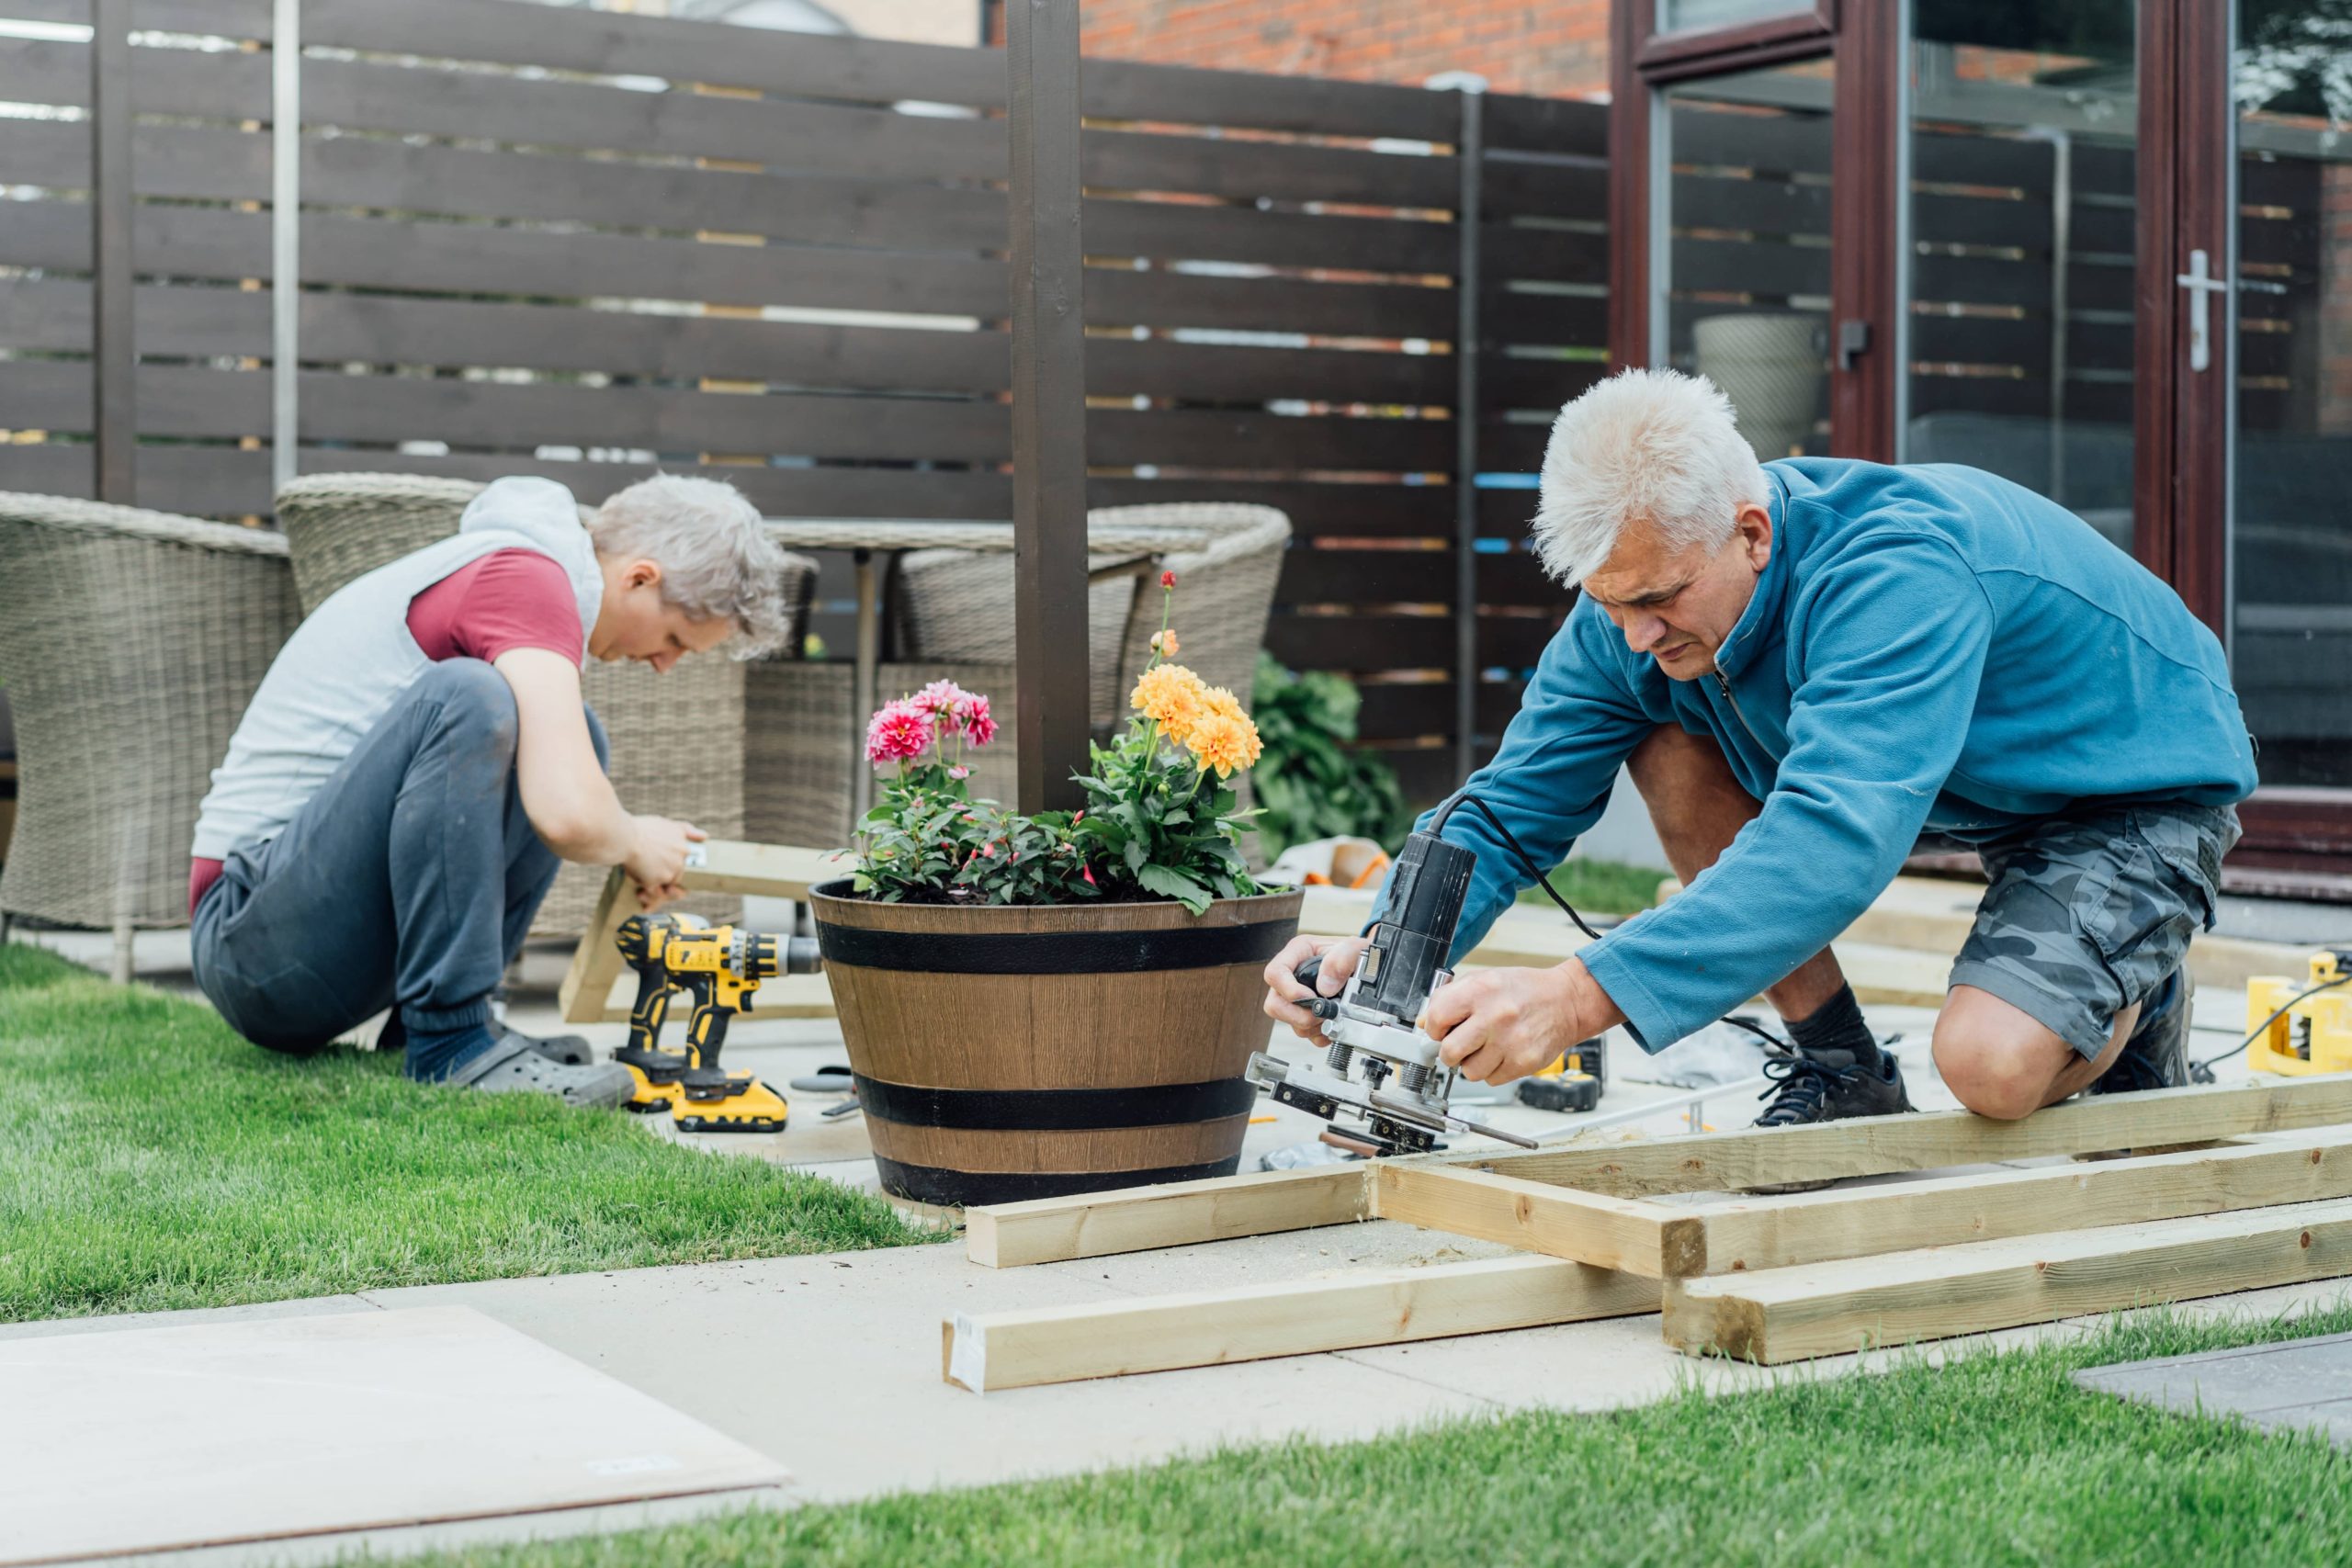
Step 1: Gather Tools and Materials
Once you have your measurements and design plans ready, gather all your tools and materials. If you’re using plywood, a trip to your local hardware store will allow you to have the wood pieces cut to size.
Step 2: Cutting the Pieces
If doing the cutting yourself, ensure all your pieces are straight and even. You will typically need one top panel, a bottom panel, multiple shelves, and two side panels. Don’t forget a backing panel if you desire a more complete look. Label each piece to keep track of where it’s supposed to go.
Step 3: Assembling the Frame
Start by attaching the top and bottom panels to the side panels using wood glue and screws. Ensure everything is perfectly square by using a level. This frame supports the entire bookshelf, so it needs to be strong and stable.
Step 4: Installing Shelves
Decide the spacing of your shelves based on what you plan to store. Mark even spaces along both side panels. Start attaching the shelves from bottom to top, ensuring that each is level as you go. For additional support, use shelf pins if you want the option of adjusting shelf height later.
Step 5: Attaching the Back Panel
If you’ve opted to include a back panel, this is the time to attach it. The back panel not only enhances the visual appeal but also provides additional stability to your structure.
Step 6: Sanding
Sand all surfaces thoroughly, starting with medium grit and progressing to fine grit sandpaper. The idea is to smooth out any rough edges and prepare the wood for staining or painting.
Step 7: Finishing
Staining or painting is a significant step as it defines the final look of your bookshelf. If staining, try to match the stain to other furniture in your room for a cohesive look. Apply a couple of coats, letting each coat dry in between. If painting, start with a primer before applying your chosen color.
Step 8: Final Assembly and Placement
Once everything is dried and finished, it’s time to put your bookshelf in place. Depending on the height and weight, consider anchoring it to the wall for safety.
Personalizing Your Bookshelf
Once your bookshelf is in place, the fun part begins—decorating it. Mix books with other decorative items like small plants, vases, or photo frames. Incorporate varied textures and colors to add depth and interest.
Conclusion
Creating your custom bookshelf is not just about aesthetics and utility; it is an opportunity to engage in a creative process that results in a tangible and personal addition to your home. With the right tools, a little patience, and inspiration, your DIY bookshelf project can transform your space and offer lasting satisfaction.
Building a bookshelf may seem daunting initially, but by breaking it down into manageable steps, you can make it a rewarding afternoon project or weekend endeavor. Remember, custom projects allow you to express your unique style while learning valuable skills along the way. So, next time you’re contemplating adding furniture to your home, consider the satisfaction of saying, “I built that!”