Gardening is a wonderful hobby, but it can often feel overwhelming, particularly if you’re new to growing your own food or flowers. One solution that simplifies the process and maximizes the productivity of small spaces is the raised garden bed. Raised garden beds offer numerous benefits: they improve drainage, protect soil from erosion, and keep your plants safe from pests while saving space and reducing strain on your knees and back. Whether you’re a seasoned pro or a beginner, building a raised garden bed is an achievable project that will enhance your gardening experience. In this blog post, I’ll walk you through the step-by-step process of building a raised garden bed from scratch.
Step 1: Plan Your Raised Garden Bed
Before you start building, it’s crucial to plan your project. First, consider the location of your garden bed. Choose a site that receives a good amount of sunlight, ideally six to eight hours per day. Avoid low spots where water tends to collect.
Once you’ve chosen the location, determine the size of your raised bed. A typical size for comfortable reach from both sides is four feet wide by eight feet long. Keep the width under four feet so you won’t have to step into the bed and compact the soil. The depth should be at least 12 inches to accommodate the root system of most plants.
Step 2: Gather Your Materials and Tools
Here’s a list of materials you’ll need for building a simple raised garden bed:
– Lumber (e.g., cedar, redwood, or untreated pine): Typically, you’ll need two 8-foot-long boards and two 4-foot-long boards for a rectangular bed.
– Wood screws (preferably galvanized or stainless steel)
– Landscaping fabric or cardboard (optional, for weed control)
– Soil and compost mix
– Protective gloves and safety goggles
And tools:
– A drill
– A saw (if you need to cut wood to size)
– A measuring tape
– A level
– A screwdriver
– A shovel and a rake
Step 3: Prepare the Site
Clear the area where you’ll place your raised garden bed. Remove any weeds, grass, and debris. It’s also a good idea to level the ground to ensure your raised bed sits evenly, providing uniform drainage and preventing water from pooling at one end.
If you’re concerned about weeds, you can lay down landscaping fabric or cardboard across the entire base of the bed area. This barrier will help prevent weeds from growing up into your garden soil but will still allow for drainage.
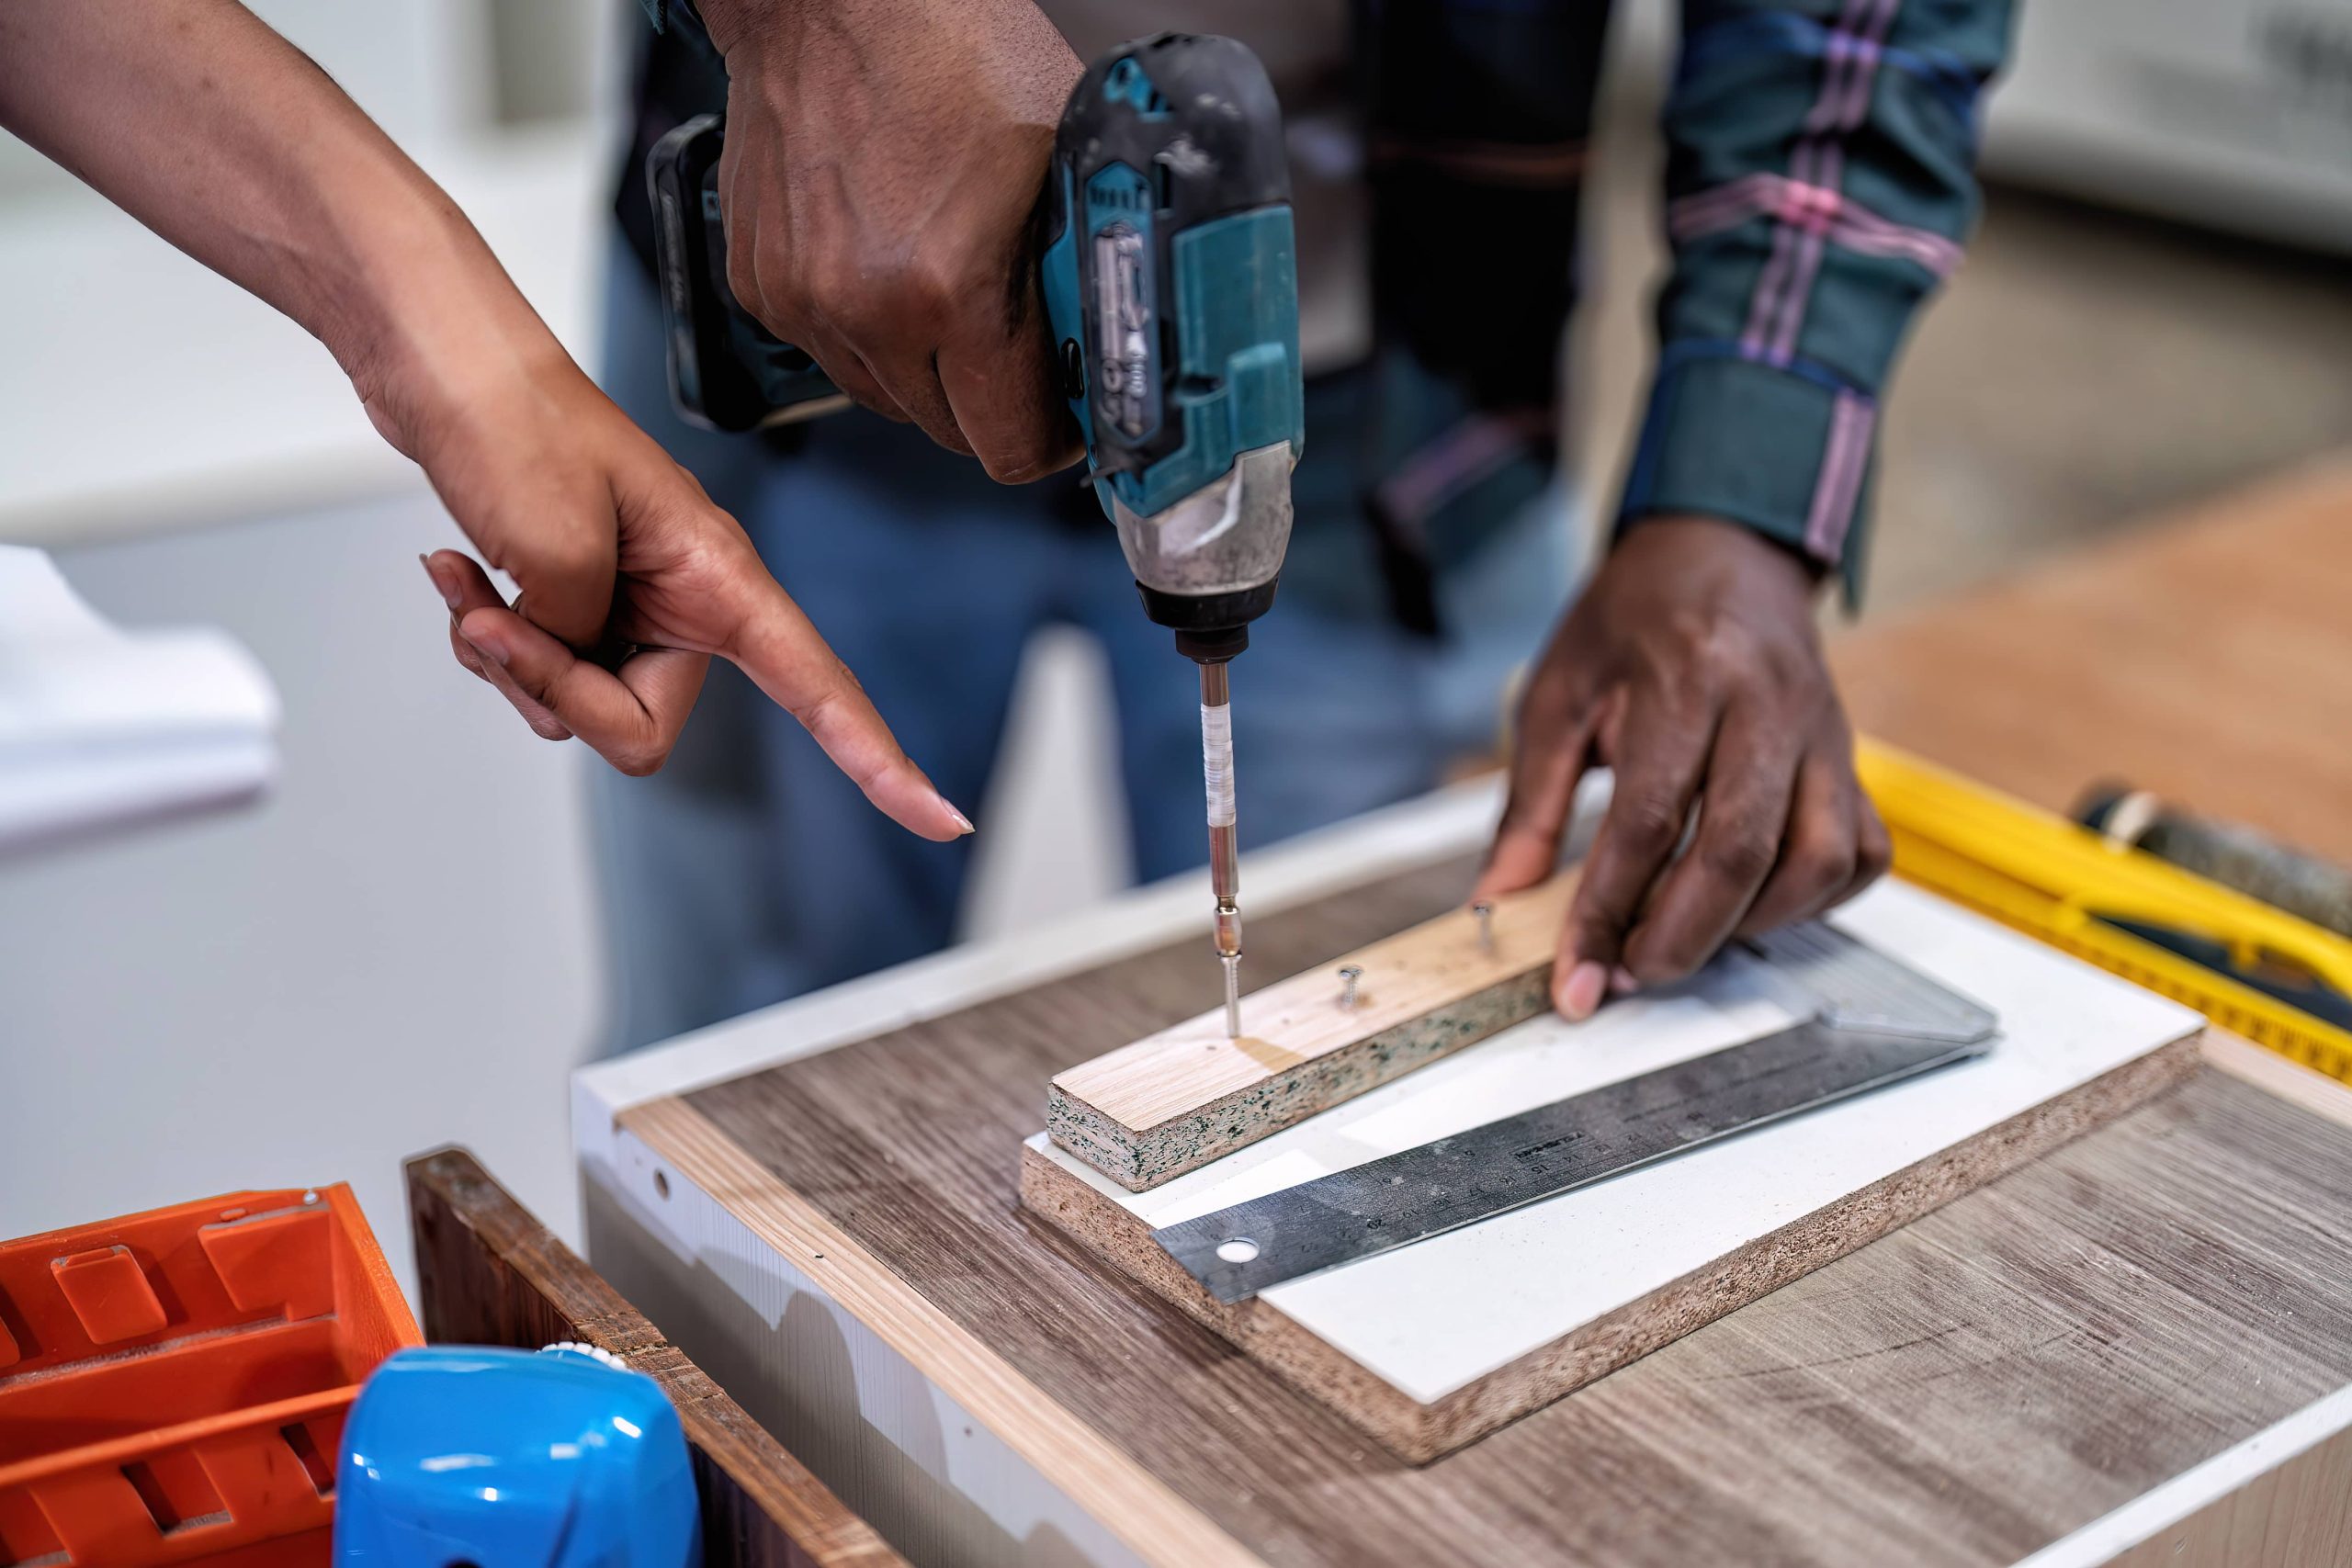
Step 4: Assemble the Frame
Begin by laying out your lumber to create the basic shape of your bed. If you’re using standard dimensions:
– Position the 8-foot boards along the long sides.
– Align the 4-foot boards at the ends to form a rectangle.
Use your drill and screws to join the corners of the boards. It’s essential to use high-quality screws that will resist rust over time, especially since they’ll be exposed to moisture.
Double-check the alignment with your level, ensuring all sides are even and square. Adjust as needed for a sturdy build.
Step 5: Position the Raised Bed
Once your frame is assembled, carefully move it into position on your prepared site. Double-check that it’s level. If you’re working on uneven ground, make small adjustments by digging into the soil slightly or adding a bit of soil where needed until the frame is level.
Step 6: Fill Your Raised Bed with Soil
Now comes the fun part: adding soil. A rich mix of topsoil and compost works well for most plants. Aim for a balance that includes:
– 60% topsoil
– 30% compost
– 10% soilless growing mix (such as peat moss)
Fill the bed with this soil mix, leaving a few inches at the top to prevent overflow when watering. Rake the soil level and water it lightly to settle it.
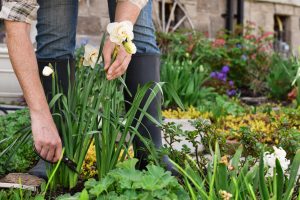
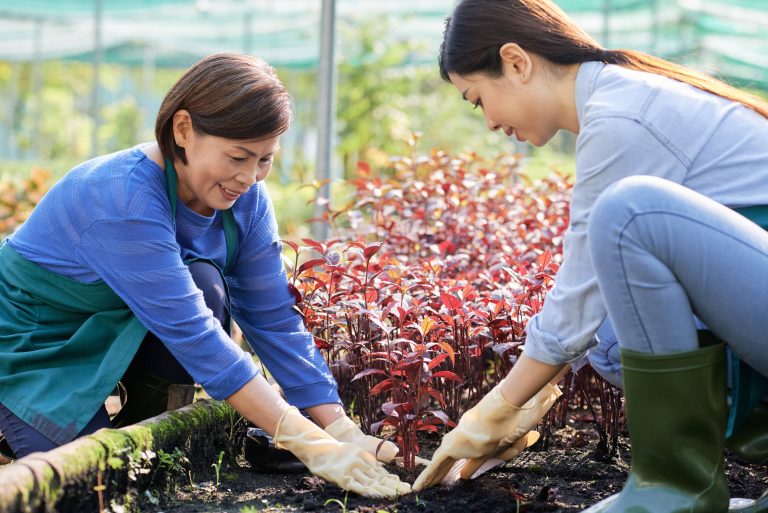
Step 7: Plant Your Garden
With your bed filled, it’s time to plant. You can grow almost any plant in a raised garden bed, but starting with easy-to-grow vegetables like carrots, peppers, tomatoes, and lettuce can be rewarding and delicious.
Spacing will vary depending on which plants you’ve chosen, so consult seed packets or a planting guide for optimal arrangement. Make sure to leave enough space between plants for air circulation and growth.
Step 8: Maintain Your Raised Bed
Maintenance is the key to a lush, productive garden. Here are some tips:
– Water regularly: Raised beds tend to dry out faster than in-ground gardens, so regular watering is essential. Early mornings are an ideal time.
– Mulch: Applying mulch will help retain moisture and keep weeds at bay.
– Fertilize occasionally: Feed your soil with organic fertilizers or additional compost throughout the growing season.
– Monitor for pests: Regularly check for signs of pests or disease. With a raised bed, you’ll find it easier to control these problems naturally.
Final Thoughts
Building a raised garden bed from scratch is a rewarding DIY project that can transform your gardening experience. Not only does it provide an ideal growing environment for your plants, but it also adds a lovely focal point to your garden space. As you enjoy the fruits (and vegetables) of your labor, you’ll find that your raised garden bed not only nourishes your plants but also your passion for creative home projects.
Happy gardening!